
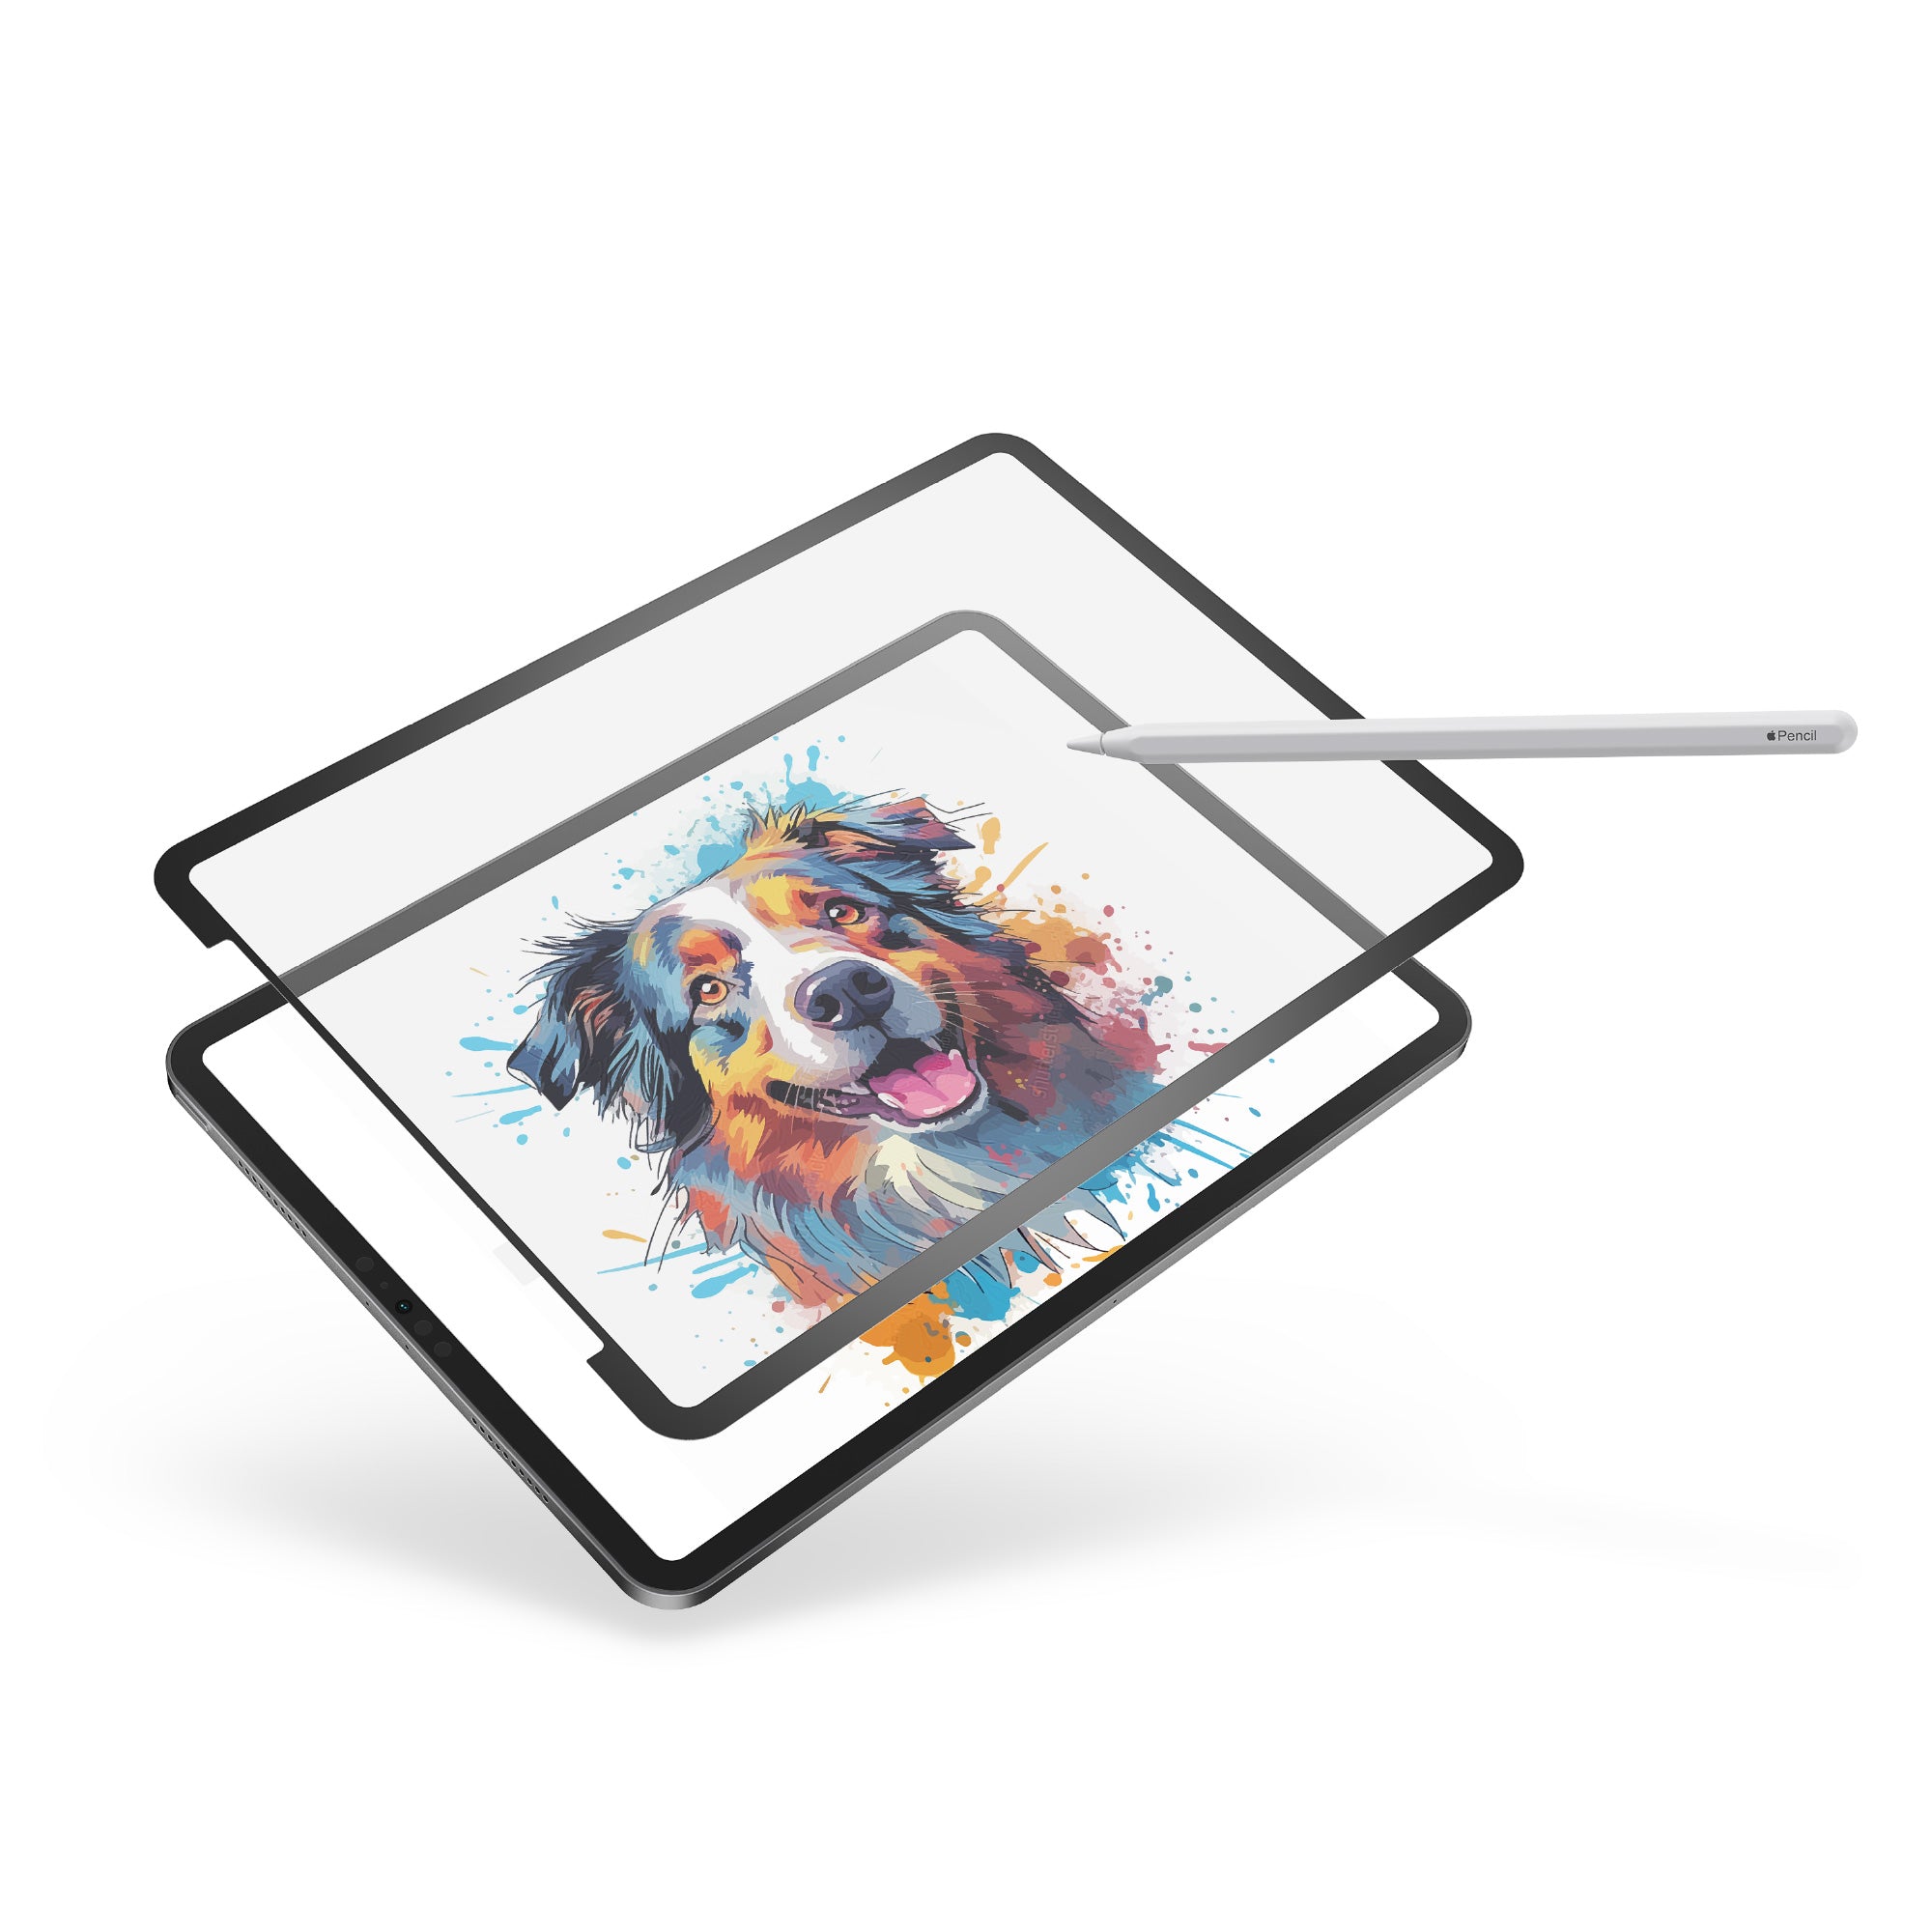

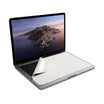

GhostCover Touch Installation Guide
Please finish viewing these installation instructions before you begin.
Note:
Perform installation in a clean, low dust environment to minimize the chance of trapping dust particles under the protector. Dust particles are the major cause of bubble issues for this type of protector.Installing the Trackpad Protector
Step 1: Verify size and fitting
Without peeling any of the 2 liners, place the trackpad protector over the trackpad area. Leave the "1" tab facing down and "2" tab facing up. Verify it is the right size for your MacBook.
Step 2: Secure installation position
While holding the trackpad protector in the exact installation position, use two pieces of included positioning tapes to hold it in place as shown in video. Then carefully flip over the protector to the side.
Step 3: Preparing installation surface
Use the included alcohol wipe marked "1" to clean the trackpad surface and remove any grime and oil build-up. Then use the dry wipe marked "2" to thoroughly dry the trackpad. Use the lint removal sticker if necessary to remove lint or dust by lightly dabbing it on the contaminant.
Step 4: Applying protector
WARNING
Finish this step swiftly to reduce the chance of dust contamination. Do not touch the exposed adhesive and cleaned trackpad.Peel off the liner marked "1" to expose the adhesive. Hold the tab marked "2" then flip the protector over. Hold the "2" tab above the trackpad. DO NOT let the protector down.
Using the included plastic card, slowly scrape from the lowered edge of the protector to the other edge, while slowly lower the "2" tab as you go.
Note:
This method effectively eliminates the chance of bubble forming. Letting the "2" down prematurely will cause bubble to form.Step 5: Finishing up the installation
Remove the liner marked "2".
WARNING
The entire 2nd film that the "2" tab attached to should be removed. Do not simply peel off the tab marked "2"If necessary, use the plastic card to push bubbles out toward the edges
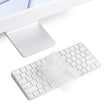
Install the Touch bar protector
Installing a little strip of plastic can be difficult, this quick guide makes it easy.
Note:
Try to install our Touch Bar protector in a low dust environment to minimize trapping any particles on your Touch Bar. Turn off your MacBook as well.Step 1: Verify size and fitting
Place the protector over your Touch Bar and make sure it matches up. A 16-inch MacBook Pro Touch Bar Protector will not fit a 15-inch MacBook Pro.
Step 2: Clean Touch bar
Do not skip this step, unless you’re unboxing a new MacBook right after reading this. Even then, use the #1 wet wipe we provided to clean the Touch Bar. Then, dry off with the #2 towel. Finally, use the lint remover sticker to get any last bits off the Touch Bar.
Step 3: Secure into place
Grab a positioning sticker and place it about halfway over the #2 tab on the Touch Bar protector. Then, align the protector over your Touch Bar. Press the sticker firmly onto your MacBook once you see it’s perfectly aligned.
Pro Tip:
Get in close. Check to see that every section of the protector is covering the Touch Bar correctly. The #1 tab should extend onto the Touch ID sensor.Step 4: Peel & apply
Lift the protector from the #1 tab. Then carefully remove the entire #1 tab film completely, making sure to touch the adhesive side as little as possible.
Grab the orange applicator card to slowly press the protector onto your Touch Bar. Use the card to smooth out any small bubbles afterwards.
Note:
You’ll probably need to switch hands to have the protector on your right and card on your left. Make sure you are keeping the protector aligned over the Touch Bar the whole time to ensure a perfect fit.Step 5: Peel again
Finally, peel the entire #2 tab film off the Touch Bar protector, starting from the positioning sticker. You’re all set now.